Rewrite HTML and transform page props in Next.js with Next.js Advanced Middleware
Calling all Next.js developers! Do you wish you could do more with middleware? Do you want to be able to intercept and rewrite the response of a Next.js statically generated page at the edge based on geolocation data? Do you also want to be able to transform page props on the fly?
Now you can! With Next.js Advanced Middleware. It’s powered by Netlify Edge Functions, brand new and only on Netlify.
In this tutorial, I show you how to use Next.js Advanced Middleware on Netlify to intercept a request to a statically pre-generated page, and rewrite the HTML response to change some text and page props based on geolocation data.
Deploy the tutorial code to Netlify
Here's the demo site I made earlier! If you want to dive in immediately, you can fork the tutorial’s code repository on GitHub, and deploy the site to your own Netlify account in seconds. Click on the Deploy to Netlify button below, and take it for a spin!

Build it yourself
Alternatively, if you’d like to build out the code from scratch, you can follow the guide below to create a new Next.js project, add a new static route, and use middleware to rewrite the HTML of the response at The Edge.
Prerequisites
Before getting started, check you’ve got the tools you’ll need to complete the tutorial.
Node.js (LTS recommended)
Netlify CLI — latest version
Project setup
Let’s create a new Next.js app. Head on over to your terminal, and run the following command, substituting YOUR_PROJECT_NAME for a name of your choice.

npx create-next-app {YOUR_PROJECT_NAME}Next, to make the magic happen, we need the @netlify/next package. Run the following command in your terminal, which will install the package as a dependency in the project’s package.json file.

npm install @netlify/nextNext, open up the project in your IDE of choice.
Add a new static route
Next.js offers file-based routing. Adding a JavaScript or TypeScript file into the pages directory creates a new browser route, with the same name as the file. Create a new file in the pages directory named static.js, and add the following code.

// pages/static.js

const Page = () => {
  return (
    <main>
      <h1 id="message">A static page</h1>
    </main>
  );
};

export default Page;
Back in your terminal, start the development server using the Netlify CLI by running the following command.

netlify devA browser tab will automatically open up on localhost:8888. Navigate to http://localhost:8888/static in your browser, and there’s your new static page.
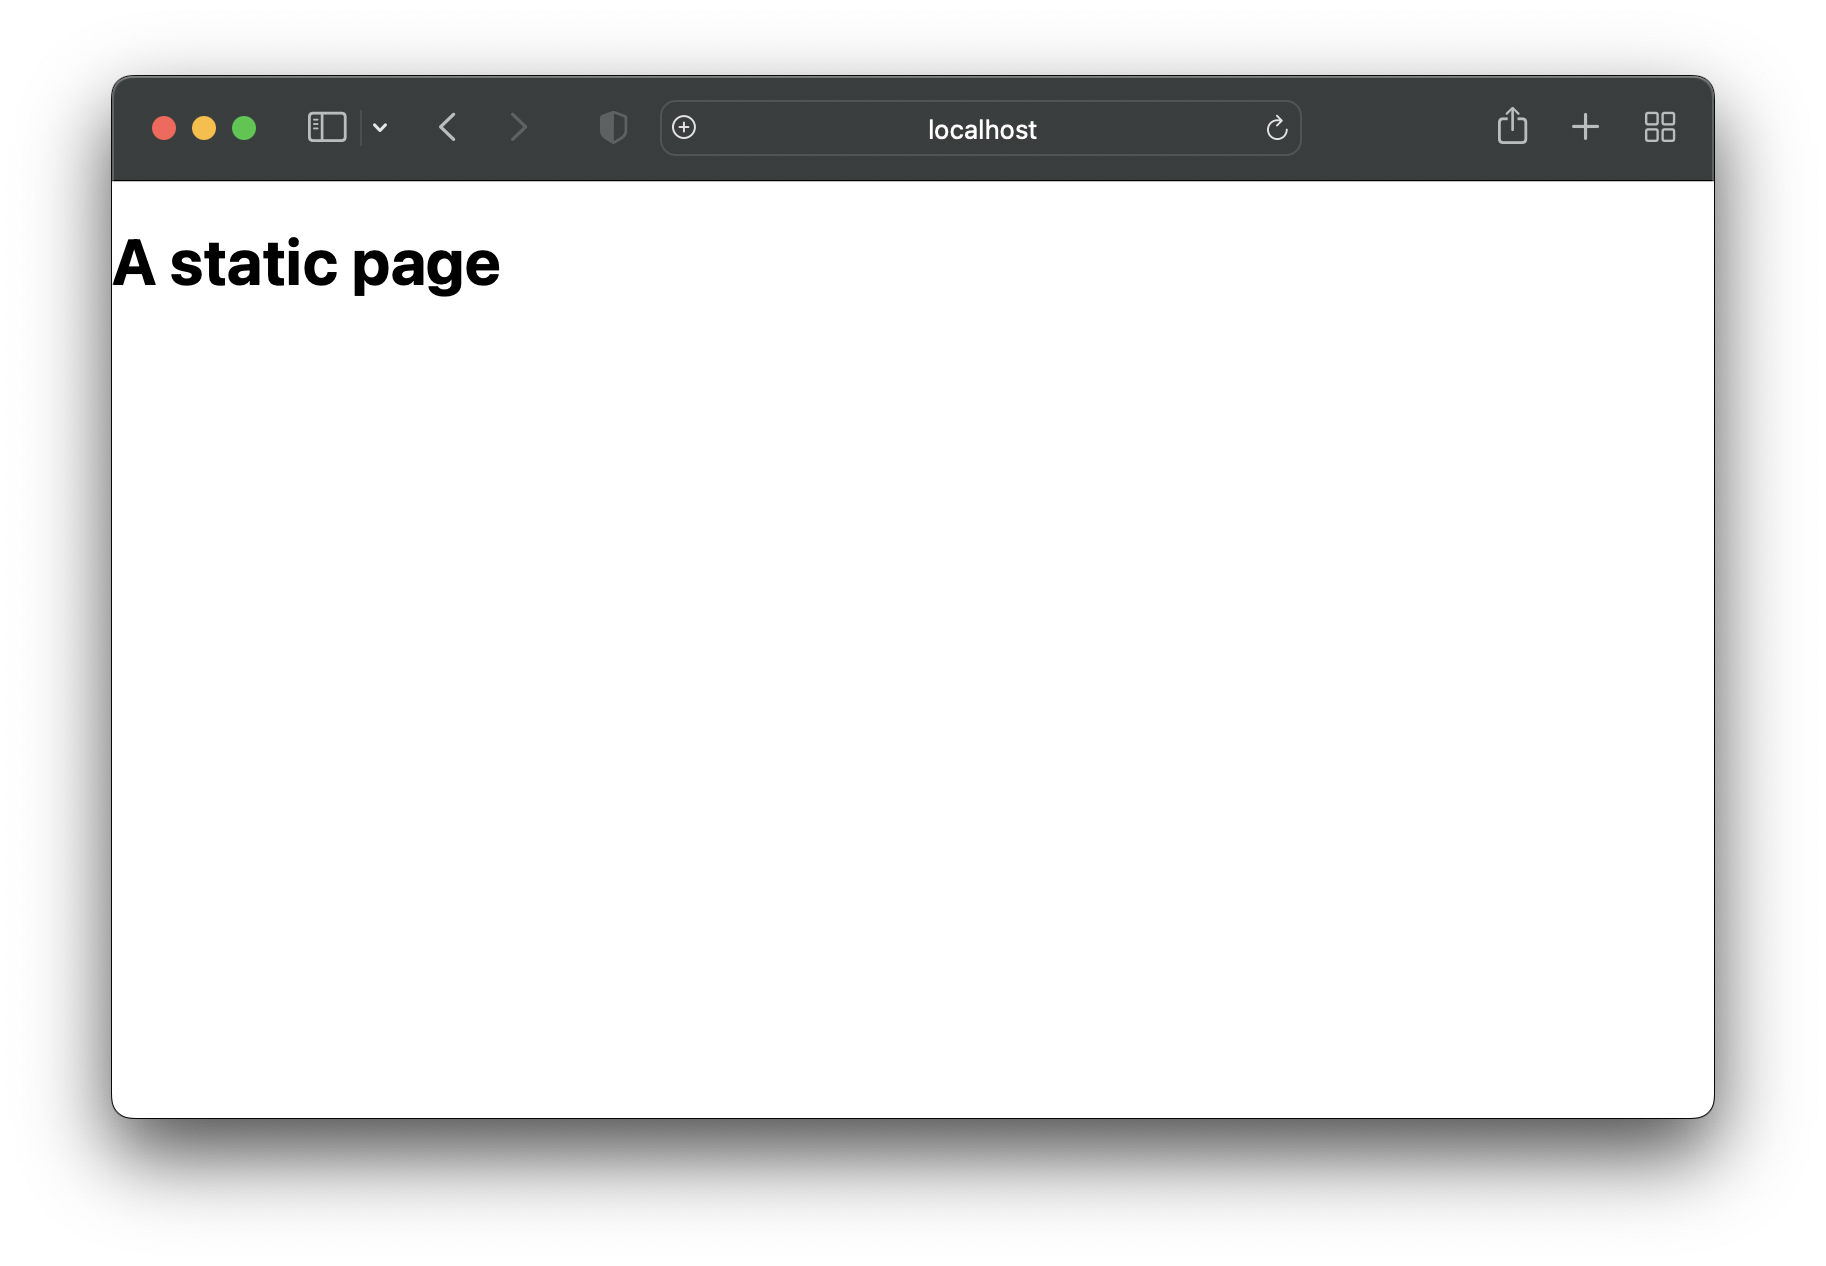
We’re going to pre-generate this page at build time with some base data before we transform it using Next.js Advanced Middleware. By exporting a function called getStaticProps from a page file, Next.js will pre-render this page at build time using the data returned by getStaticProps().
Add the following code to static.js, and pass the message prop into the Page function.

// pages/static.js

export async function getStaticProps() {
  return {
    props: {
      message: "This is a static page — and now this is a prop!",
    },
  };
}

const Page = ({ message }) => {
  return (
    <main>
      <h1 id="message">{message}</h1>
    </main>
  );
};

export default Page;
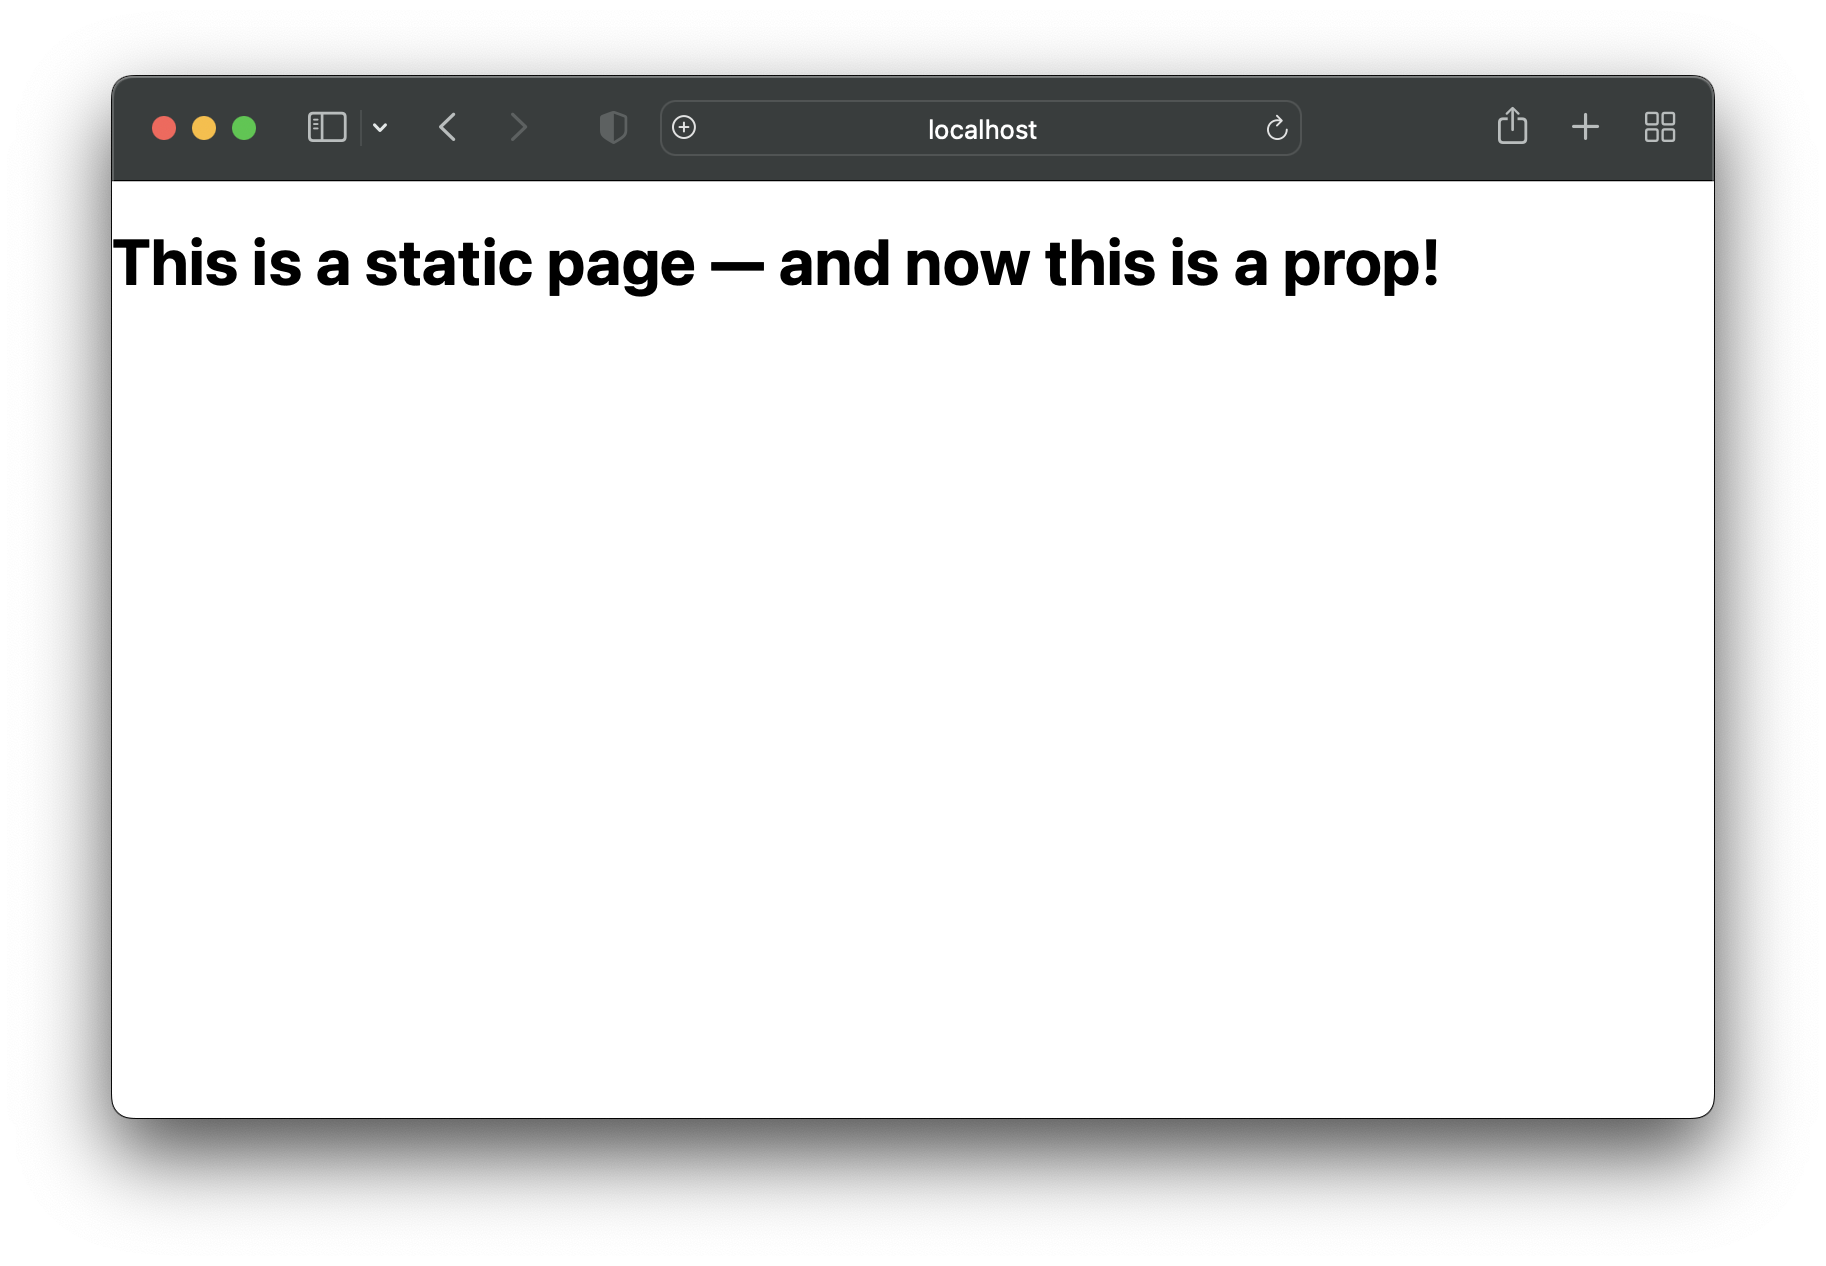
And just to confirm everything's wired up, here’s our updated static page, using the message prop.
Next, onto the middleware!
HTML rewrites and page data transforms
Middleware in Next.js allows you to run code before an HTTP request is completed — and sits in the middle of the request and response. You can create a middleware file in Next.js using JavaScript or TypeScript, and for the purposes of this tutorial we’re going to write middleware in TypeScript.
At the root of your project, create a new file and name it middleware.ts. This file will run on every request when your app is running — including pages, static files and assets. In middleware.ts, add the following code. We’re importing the type NextRequest, which represents the incoming HTTP request, exporting an async function named middleware, and passing in the request as nextRequest to the function, which is a NextRequest object.

// middleware.ts

import type { NextRequest } from "next/server";

export async function middleware(nextRequest: NextRequest) {

}
In this demo, we want the middleware to run on the route named static. Let’s get the pathname from the request, and prepare the function to do something when the pathname starts with static.

// middleware.ts

import type { NextRequest } from "next/server";

export async function middleware(nextRequest: NextRequest) {
  const pathname = nextRequest.nextUrl.pathname;

  if (pathname.startsWith("/static")) {
    // do something here
  }
}
Next, it’s time for the Netlify magic. Let’s rewrite the HTML of the static page we created earlier. Near the top of the file, import MiddlewareRequest as a named import from @netlify/next.

// middleware.ts

import type { NextRequest } from "next/server";
import { MiddlewareRequest } from "@netlify/next";

export async function middleware(nextRequest: NextRequest) {
  const pathname = nextRequest.nextUrl.pathname;

  if (pathname.startsWith("/static")) {
    // do something here
  }
}
Inside the middleware function, let’s initialize a new Netlify MiddlewareRequest, passing in the original NextRequest as nextRequest.

import type { NextRequest } from "next/server";
import { MiddlewareRequest } from "@netlify/next";

export async function middleware(nextRequest: NextRequest) {
  const pathname = nextRequest.nextUrl.pathname;

  const middlewareRequest = new MiddlewareRequest(nextRequest);

  if (pathname.startsWith("/static")) {
    // do something here
  }
}
This enhances the original request object by adding in all of the good stuff available in Netlify Edge Functions. Netlify Edge Functions are very much like serverless functions. You can write them using JavaScript or TypeScript, but instead of using Node.js under the hood, they are powered by Deno — an open source runtime built on web standards — and they are executed at the closest server location to a request. This enables full personalization of pages at The Edge in Next.js, with no need to use getServerSideProps() in your page routes. It also works with Incremental Static Regeneration.
Now our NextRequest object is levelled-up with Netlify's MiddlewareRequest, we have the power to modify the HTTP response before it's returned — because we can actually send the request to the origin to fetch it and work with it.
Add the following code inside the if statement, and let’s unpack what it does.

// middleware.ts

import type { NextRequest } from "next/server";
import { MiddlewareRequest } from "@netlify/next";

export async function middleware(nextRequest: NextRequest) {
  const pathname = nextRequest.nextUrl.pathname;

  const middlewareRequest = new MiddlewareRequest(nextRequest);

  if (pathname.startsWith("/static")) {
    const response = await middlewareRequest.next();

    const message = `This was a static page but has been transformed
                     in ${nextRequest?.geo?.city},
                     ${nextRequest?.geo?.country} using
                     @netlify/next in middleware.ts!`;

    response.replaceText("#message", message);
    response.setPageProp("message", message);

    return response;
  }
}
If the pathname starts with static, we grab the next response in the HTTP chain by awaiting middlewareRequest.next() — this is our static page — and assign it to the variable response. Then, using geolocation data from nextRequest, we construct a new personalized message to replace the static page content.
Next.js Advanced Middleware from Netlify includes a replaceText function, and also has support for more powerful transforms using the HTML Rewriter stream transformer. To get access to the message from the DOM in the middleware function, we add an ID to the DOM node containing the message we want to transform on the static page.

// pages/static.js

const Page = ({ message }) => {
  return (
    <main>
      <h1 id="message">{message}</h1>
    </main>
  );
};
Then, we run replaceText on the response, passing in the DOM ID we added to the message in static.js, and the new message we constructed. To ensure the hydrated content on the client matches the server-side rendered HTML (and to avoid a React hydration error), we can also update page props using setPageProp to update the underlying message data on the page as well.
Finally, return the response! Go back to your browser, and check out the updated message on a previously statically generated page.
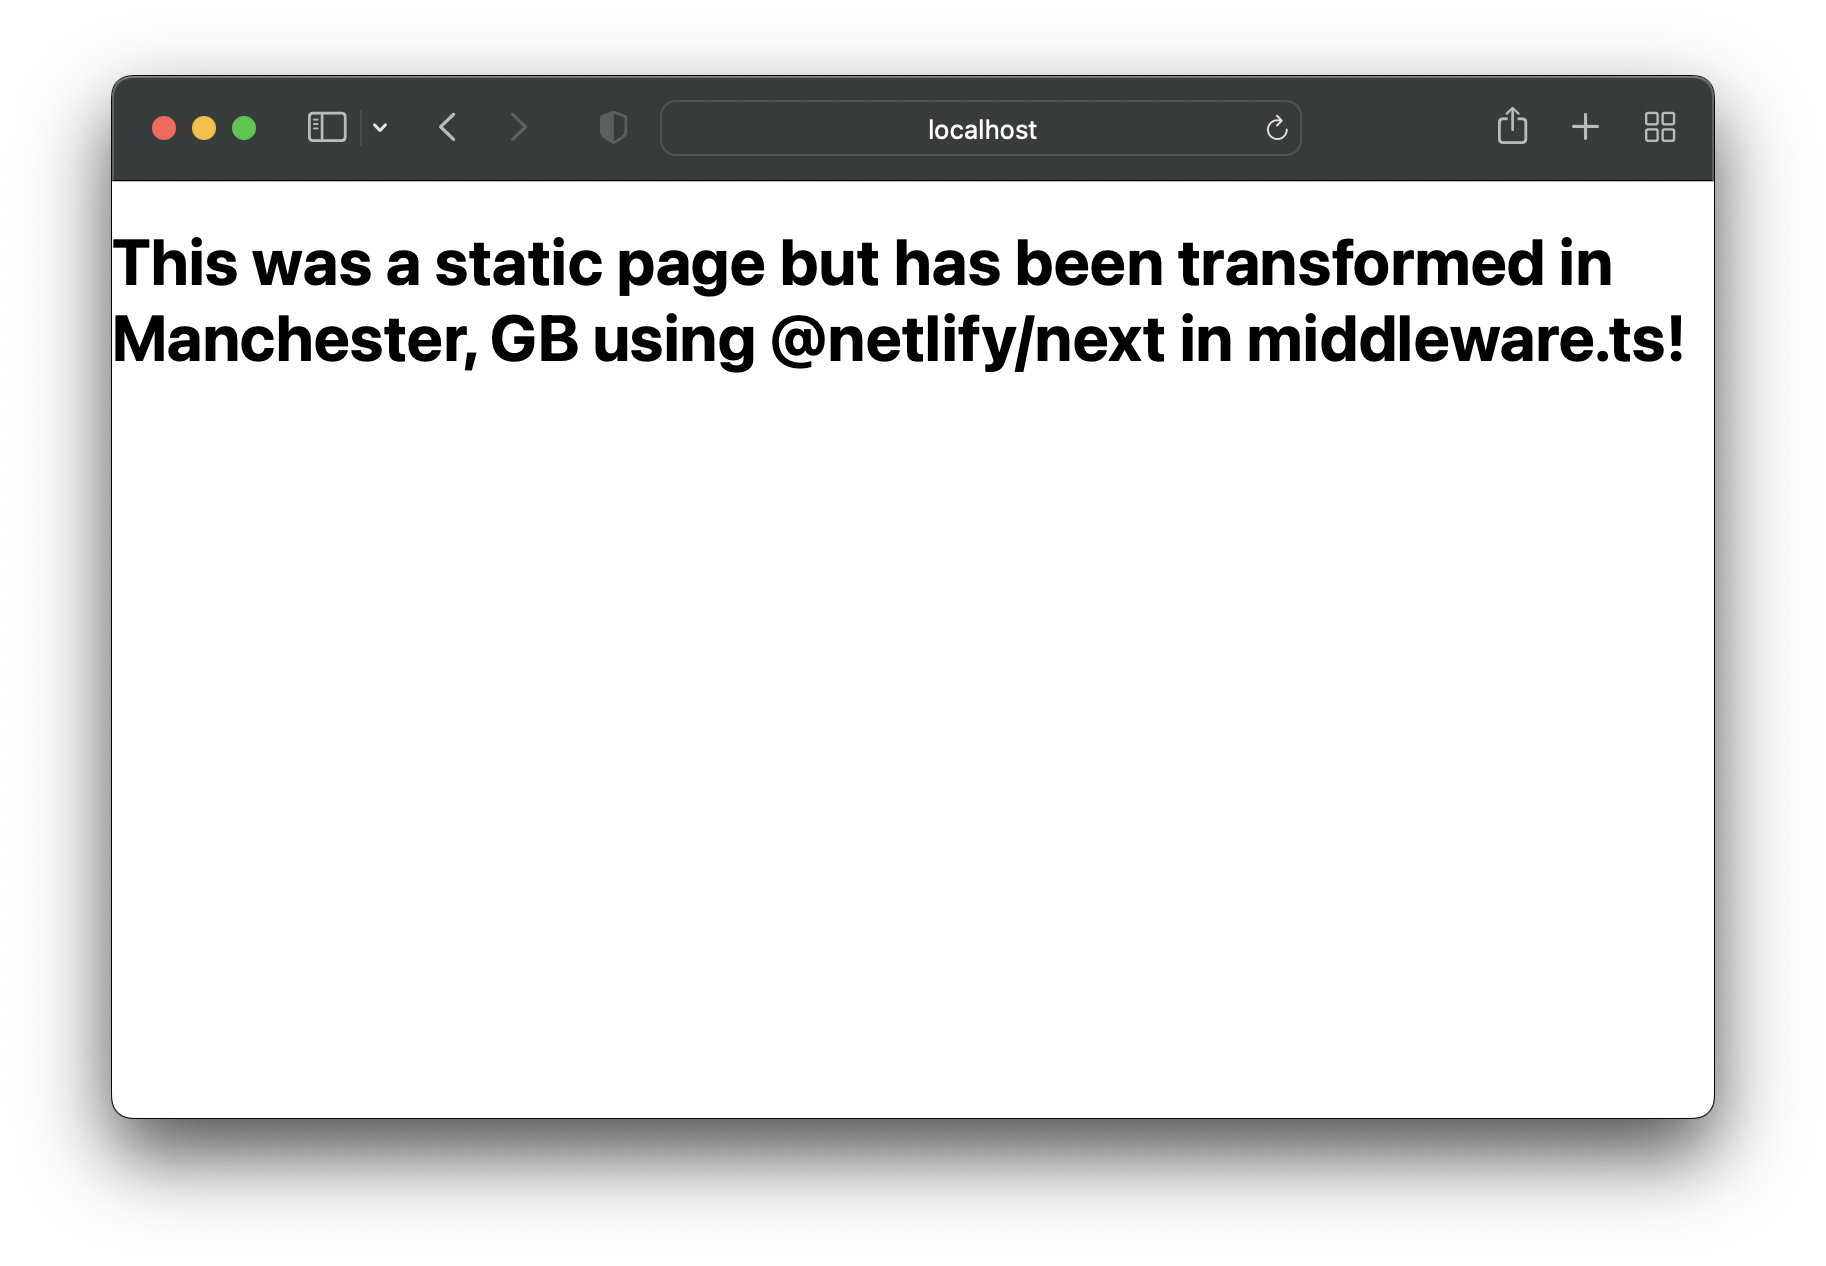
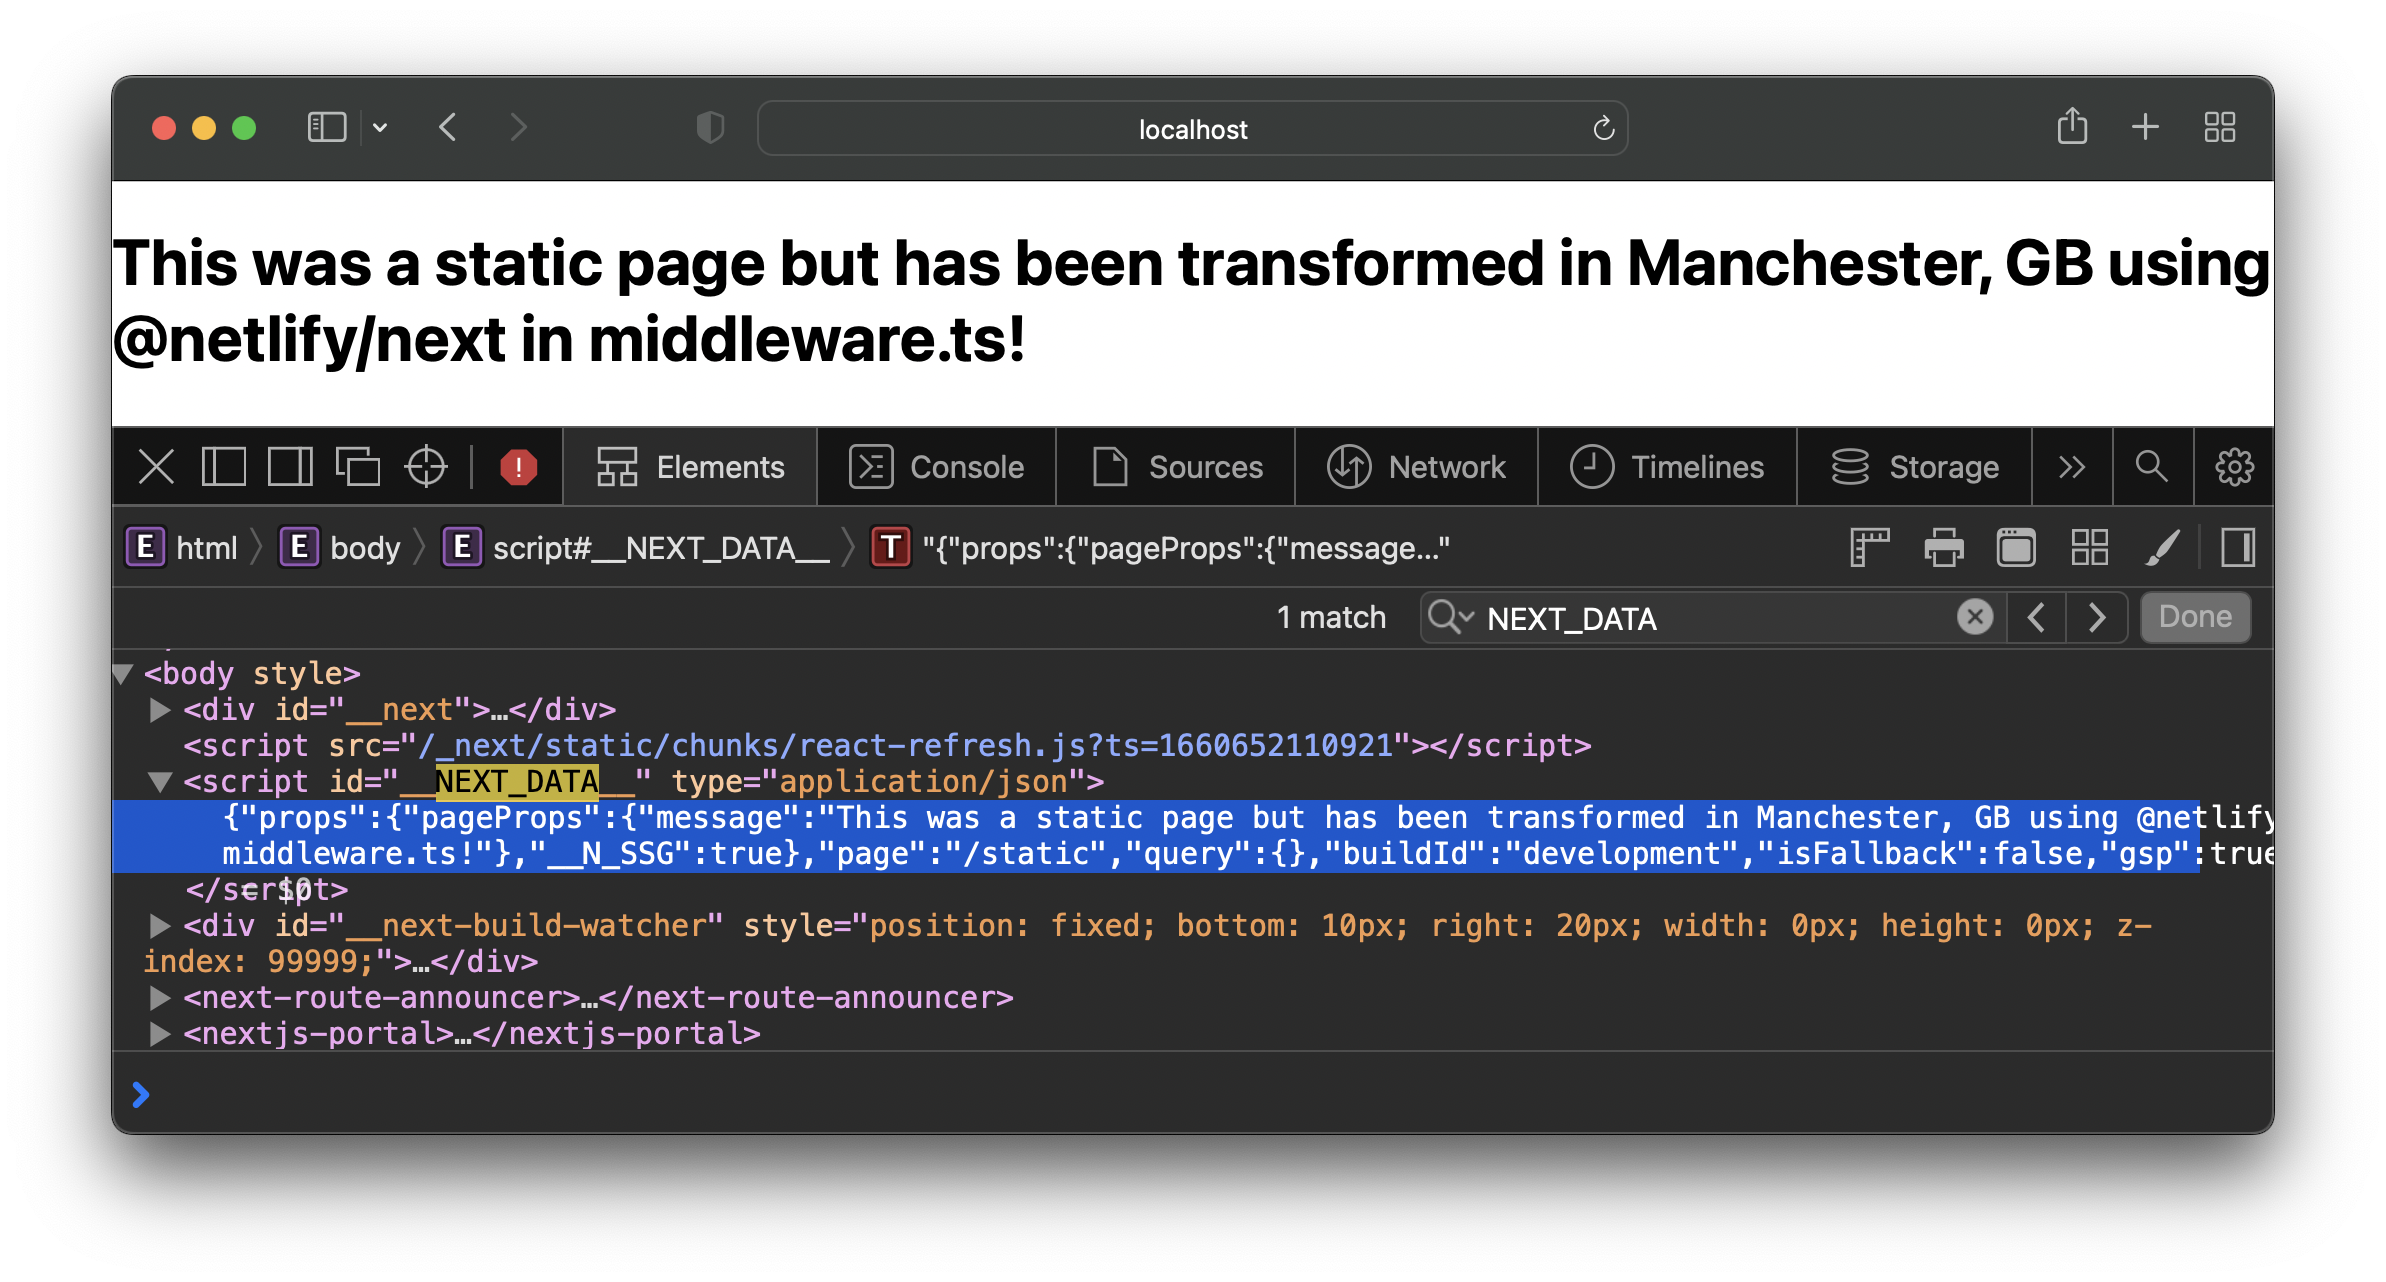
The message has been transformed in the middleware file and the HTML of a static page has been rewritten. And what’s more — the page prop has also been updated! Inspect the page source, search for NEXT_DATA in the DOM, and check out the updated page message prop — all powered by Next.js Advanced Middleware from Netlify.
Let’s deploy to Netlify to watch HTML rewrites happen in real-time on a live URL.
Connect your git repo
We have a number of options for how we deploy a Next.js project to Netlify. In this tutorial, we’ll connect to a new git repo so that we get CI/CD all rolled in and configured for free.
Next.js projects come with a git repo already initialized. Stage and commit your files using the following commands.

git add . # stage your files
git commit -m 'Initial commit' # commit your files with a commit message
The next steps will take you through adding your repository to GitHub via the GitHub CLI — but you can push your project to GitHub however you’re most comfortable.
Run the following command in your terminal to create a new repository that’s connected to your GitHub account:

gh repo createWhen prompted on the kind of repository you'd like to create, select: Push an existing local repository to GitHub. Follow the remaining prompts to fill out the relevant project details. Now, you’re ready to deploy to Netlify!
Deploy to Netlify using the Netlify CLI
If you're not already logged in to the Netlify CLI, run the following command in your terminal, and follow the prompts to authorize with Netlify (a browser window will open).

netlify loginNext, run the following command to initialize a new project on Netlify.

netlify initWhat would you like to do?
Create & configure a new siteTeam:
YOUR_TEAMSite name (optional):
CHOOSE_UNIQUE_SITE_NAME
The Netlify CLI will auto-detect that you’re using Next.js, so the following prompts will be pre-filled. Hit enter to use the defaults.
Your build command (hugo build/yarn run build/etc):
(next build)Directory to deploy (blank for current dir):
(.next)Netlify functions folder:
(netlify/functions)
Wait a few seconds… and your new site is deployed! 🎉 You can now demonstrate your new personalization skills in Next.js by sending the live URL to your friends.
Find out more
If you’d like to find out more, visit Netlify’s official documentation to learn about what’s now possible with Next.js Advanced Middleware — only on Netlify.
Originally posted on ntl.fyi
