My Twitch live coding setup in OBS
When streaming live coding on Twitch, I code on a MacBook Pro and stream via OBS on a custom PC build. Given the variety of wild overlays I have added to my stream over time, I often receive questions about how I set up OBS to stream, so let’s take a look!
This article does not intend to be a tutorial on how to use OBS, but rather a window into the backstage area at p4nth3rHQ to answer common questions.
This article will also help future me in the event my streaming PC explodes 🔥.
How I monitor my stream when I’m live
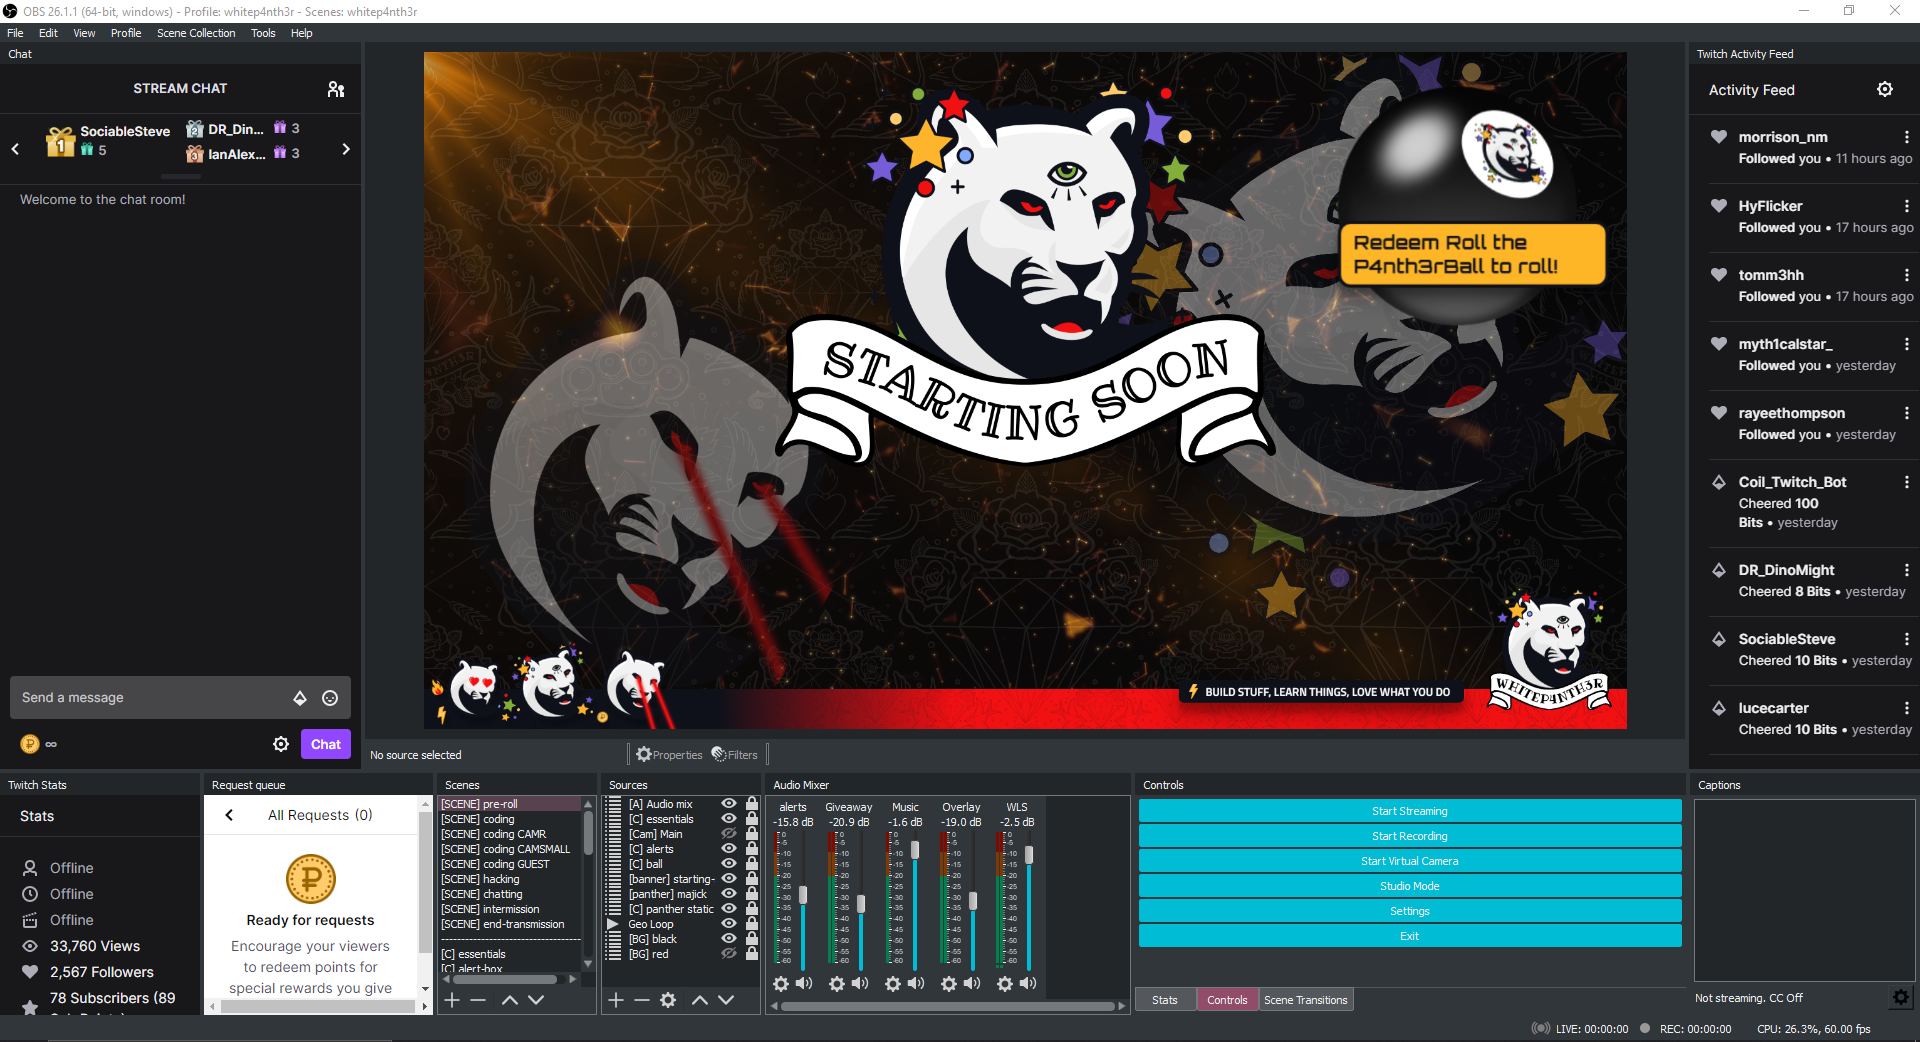
I monitor my stream through a combination of UI docks in OBS and the Twitch Stream Manager — which I view on my MacBook Pro screen. Monitoring activity on two screens means I am less likely to miss activity in chat or items in the request queue.
The most important part of what I monitor in Twitch Stream Manager is what my viewers are seeing (which is always slightly delayed compared to what I see in OBS). This ensures I can time raids at the end of my stream accurately, and alerts me to any visual/framerate issues as well.
I use a variety of configurable UI docks available in OBS, including:
Twitch chat
Twitch stats
Twitch request queue
Twitch activity feed
Captions monitor (powered by the Google Cloud Captions plugin)
Component and Composite Scenes
I organise my scene collection in OBS into a set of component scenes to enable easy reuse across composite scenes.
I prefix all scene names with labels for quick visual identification, such as [SCENE] for a composite scene that will be shown on stream, [C] for component and so on. I also separate the list of component scenes into categories with blank scenes named “-------”.
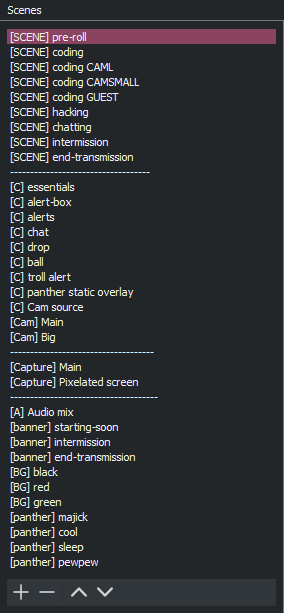
The composite scenes I use on stream
Pre-roll
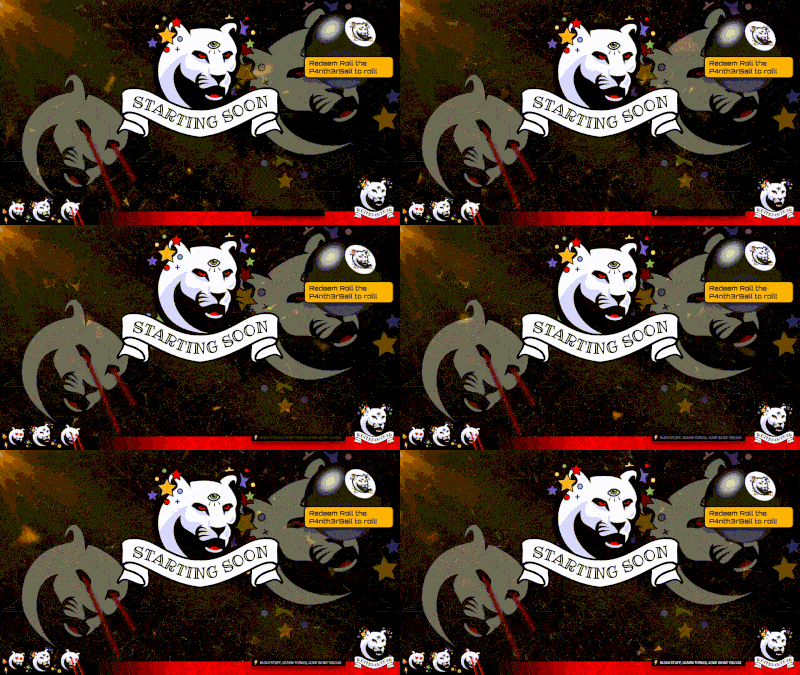
This is the scene you’ll see when I’ve just pressed the go-live button. I leave this scene on for around five minutes, whilst I welcome people to the stream by voice. I don’t usually have my webcam capture visible for this scene, but sometimes I surprise the audience with a cameo appearance now and then.
Here’s how it looks in OBS:
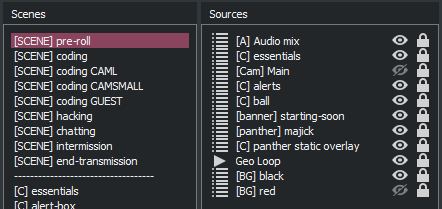
The [C] essentials component scene is a collection of browser sources that appear on every composite scene except the end-transmission scene, comprising:
Streamlabs alert box (which I only use for host alerts)
Giveaway Friday overlay
Footer overlay
Chat overlay
p4nth3rdrop overlay
troll alert component scene (comprising a number of .mov files)

The giveaway, footer and chat overlays are powered by a React app, whilst p4nth3rdrop — the emote rain powered by Twitch chat commands — is a self-contained application.
The [C] panther static overlay is a component scene containing the two large semi-transparent panthers you see in the background of the scene. The [banner] starting-soon and [panther] majick are at the centre of the screen.
The Geo Loop is the dynamic geometric transparent-ish background — this is something I tried out once and it stuck — and I haven’t needed to put it in its own component scene yet.
The p4nth3rlabs alerts browser source is added as a separate component on each composite scene. Even though I want to show the alerts on every scene, the browser source remains separate from the essentials due to it needing to be positioned differently across scenes. This is also the case for the p4nth3rball, which is another self-contained application.
Depending on my mood, I’ll use the [BG] black or [BG] red patterned backgrounds. I leave both components in the scene for ease of switching — I do this type of thing in a lot of scenes.
Chatting
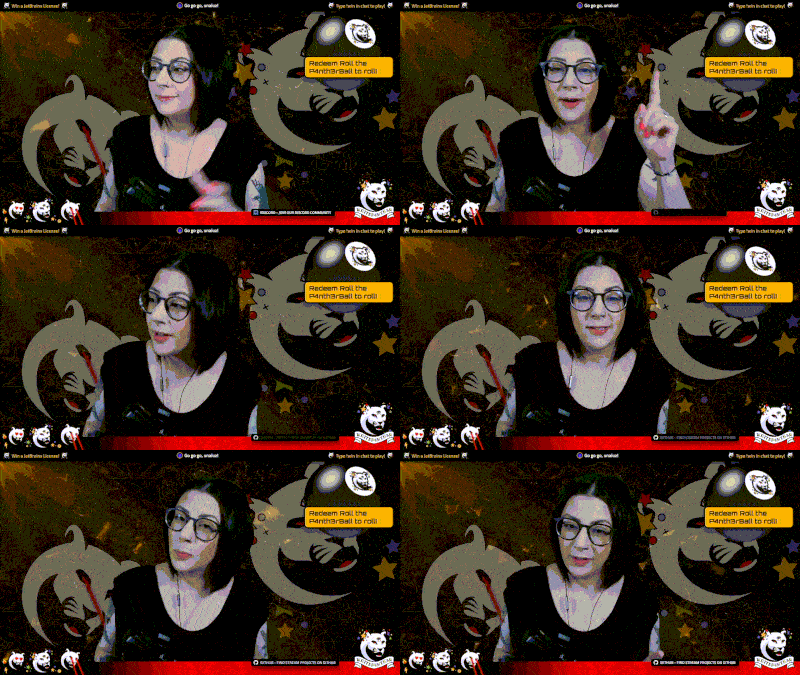
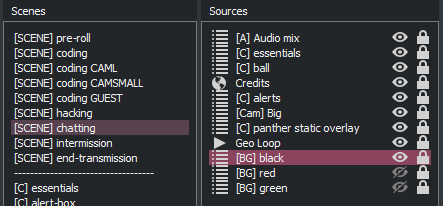
I mostly use this scene at the beginning and end of streams. It contains all of the essentials and separate components mentioned in the pre-roll scene, plus a Credits browser source from Streamlabs, which I use to show my custom-styled credits at the end of a stream. Here's how it looks in OBS:
Coding
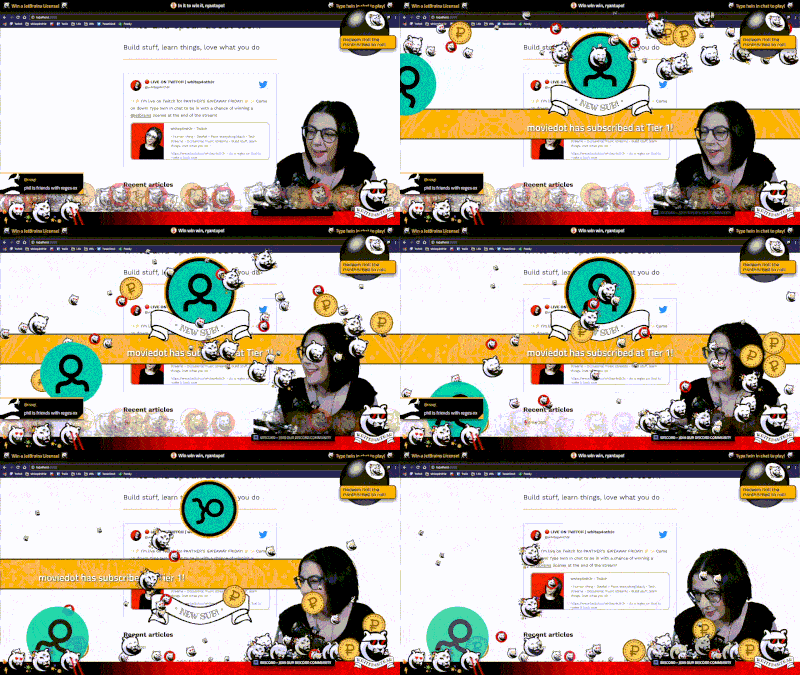
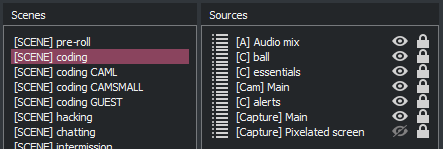
This is the scene I’ll show for most of a stream. This scene contains all of my essentials, the p4nth3rlabs alerts, and two [Capture] source component scenes. I use the Elgato HD60 S Capture Card 1080p to send the output of my main monitor (which is plugged in to my MacBook Pro) to the streaming PC.
The [Capture] Main component scene is the full capture of my main 1080p monitor that I view directly in front of me when I stream.
The [Capture] Pixelated screen component is my current privacy screen, which allows for some dynamic movement behind a privacy filter when I need to conceal my screen. This is a separate component scene containing another capture of the main monitor I code on, with a scaling/aspect ratio filter applied. Read this post by Luce Carter to see how I set this up.
Ordering of the component scenes inside composite scenes is something I make sure to consider carefully. For example, in the coding scene it’s important that the [Cam] Main is above [C] alerts, so that the alert banner doesn’t cover my face.
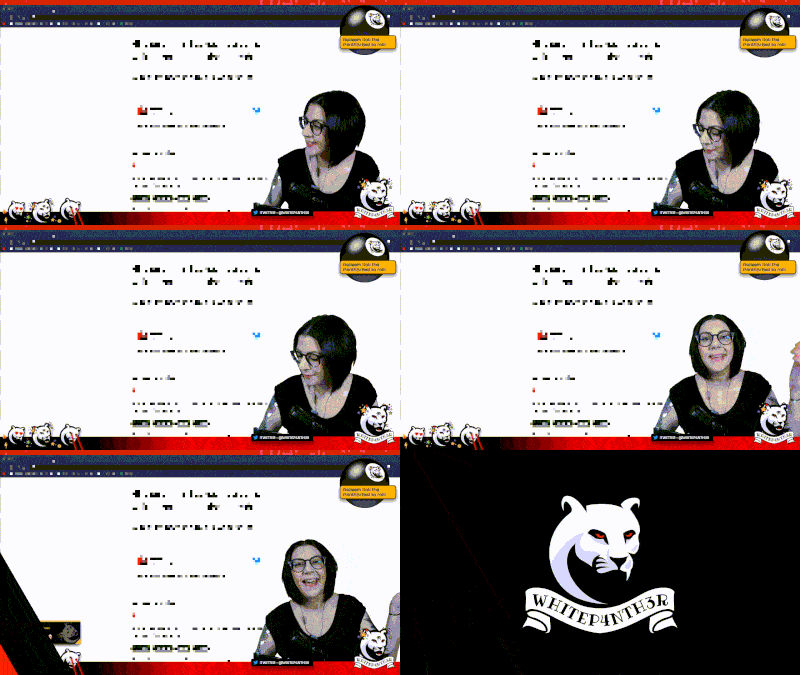
Here’s how it looks in OBS:
Intermission
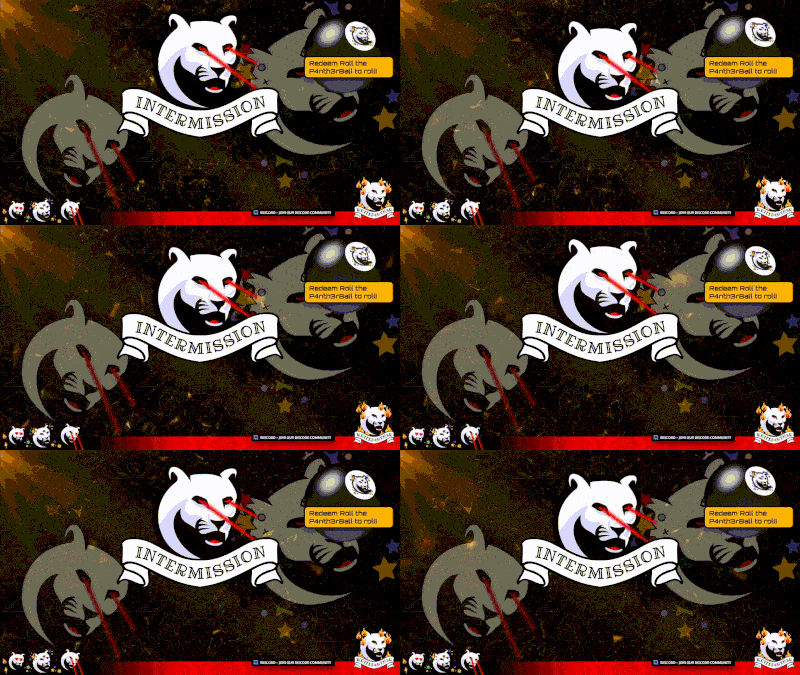
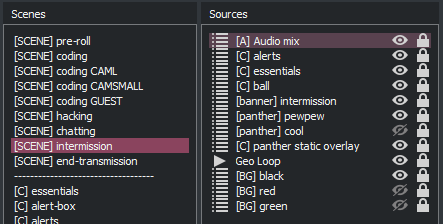
The intermission scene is almost identical to the pre-roll scene, with the banner and panther switched out. Here’s how it looks in OBS:
Other scenes
[SCENE] end-transmission is for when the stream ends — you’ll usually only see this for a few seconds before a raid
I use [SCENE] coding CAMR if I need to move my face to the left side of the screen (next to chat) for any reason
[SCENE] coding CAMSMALL is used to make my webcam capture smaller should I need to show viewers something behind my head — it’s a direct copy of [SCENE] coding but with the webcam component made much smaller
[SCENE] coding GUEST is a flexible scene for when I have a guest on stream, which is mostly a duplicate of [SCENE] coding
[SCENE] hacking used to be my privacy scene that I tend not to use these days — but I still keep it around
Stinger

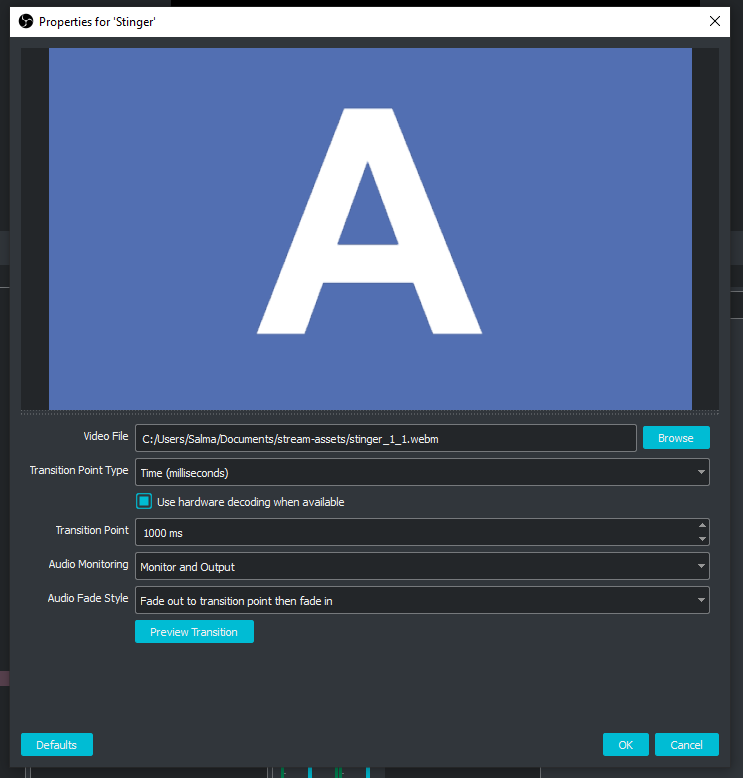
I recently made a stinger using this tutorial from Gaming Careers that I use to transition between all of my scenes. Here are the transition settings in OBS:
Audio
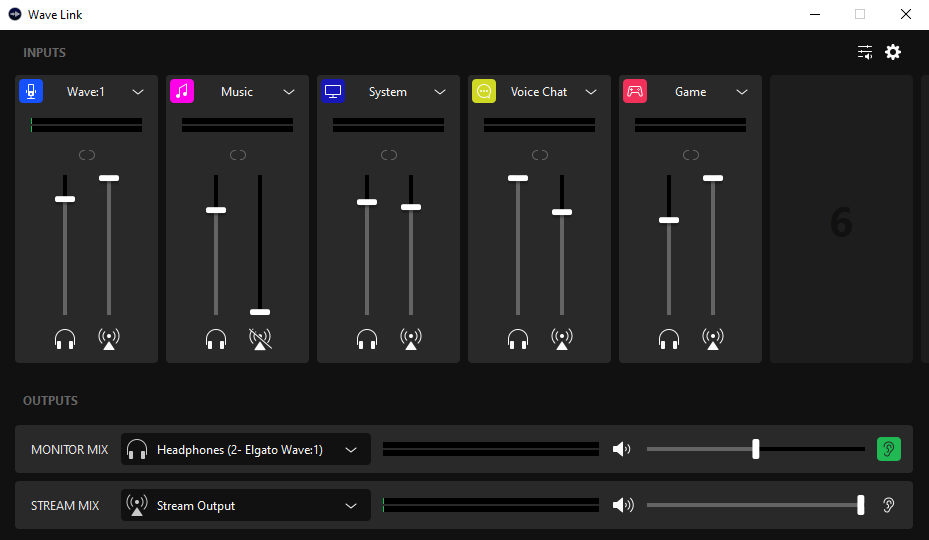
I use the Wave Link software that comes with my Elgato Wave 1 USB Condenser Mic to control most of the audio in OBS. I set up Wave Link to send audio inputs from multiple channels (mic, system sounds, voice chat in Discord, and the audio capture from my Mac) to one output for the stream — via the Wave Link Stream output — or WLS.
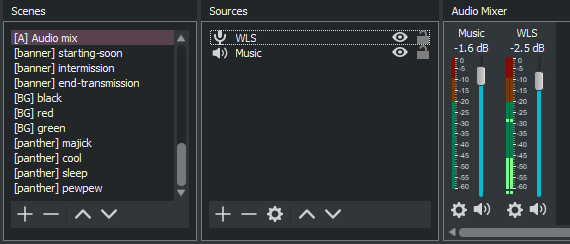
Here are the two audio channels added to the main [A] Audio mix component scene, which is added to every streaming scene, except end-transmission.
Here are the Wave Link software settings. The Wave Link microphone acts as an audio interface, and this software allows the control of audio channel levels individually. My headphones are plugged into the microphone, and the interface allows me to control the levels of what I hear in my headphones independently of what audio levels are output to the stream.
The music played via the Pretzel application is added as a separate audio channel, so I can lower the level of the music automatically whilst I am speaking via a compression filter — this is called audio ducking.
If you’re playing music in the background whilst you speak, audio ducking is a really powerful feature that can greatly improve the production quality of your streams. I add a compression filter to the Music audio channel with the following settings. This means that whenever audio is output on the WLS channel, the Music channel will lower in volume.

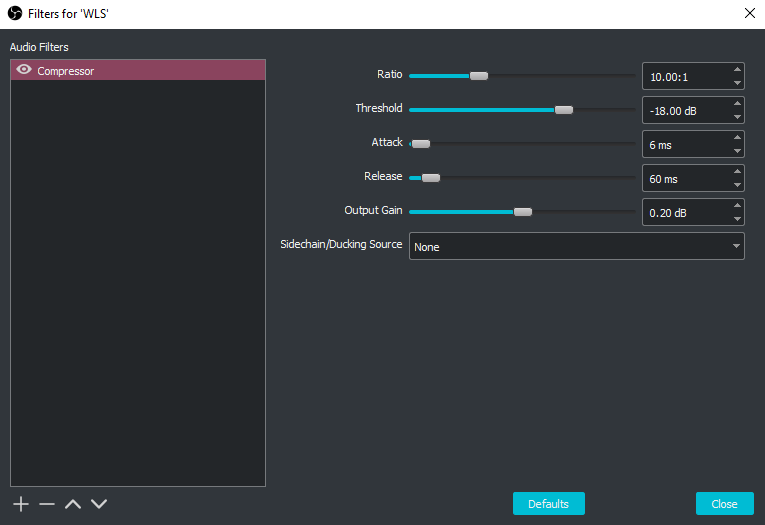
I also use a compression filter on the WLS channel, to filter out some background noise from the microphone input.
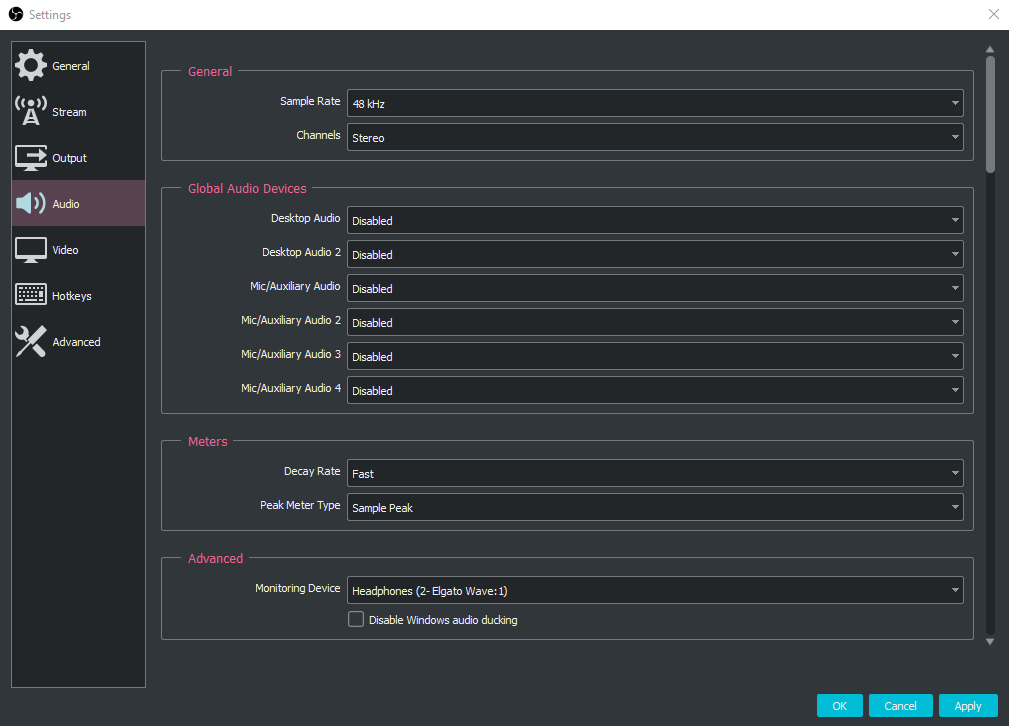
As I use the Wave Link software to manage my audio channels, I disable all global audio devices in OBS, and set the monitoring device to the headphones plugged into my microphone/audio interface.
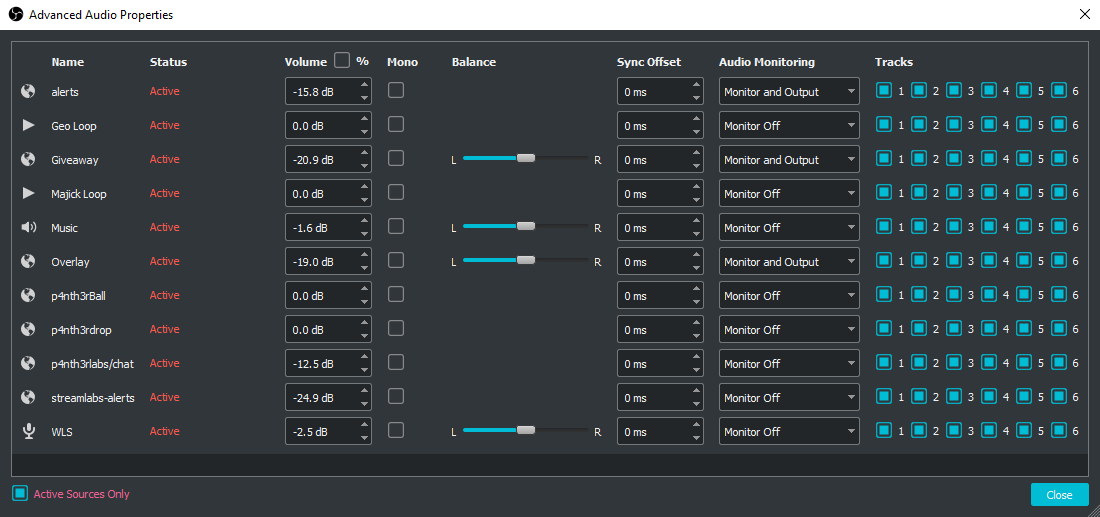
In the advanced audio settings, I set three audio sources that are generated by component scenes (browser sources) to Monitor and Output, so that I can monitor what my viewers are hearing on stream — such as follower alerts and chat-controlled overlay changes.
Stream Settings
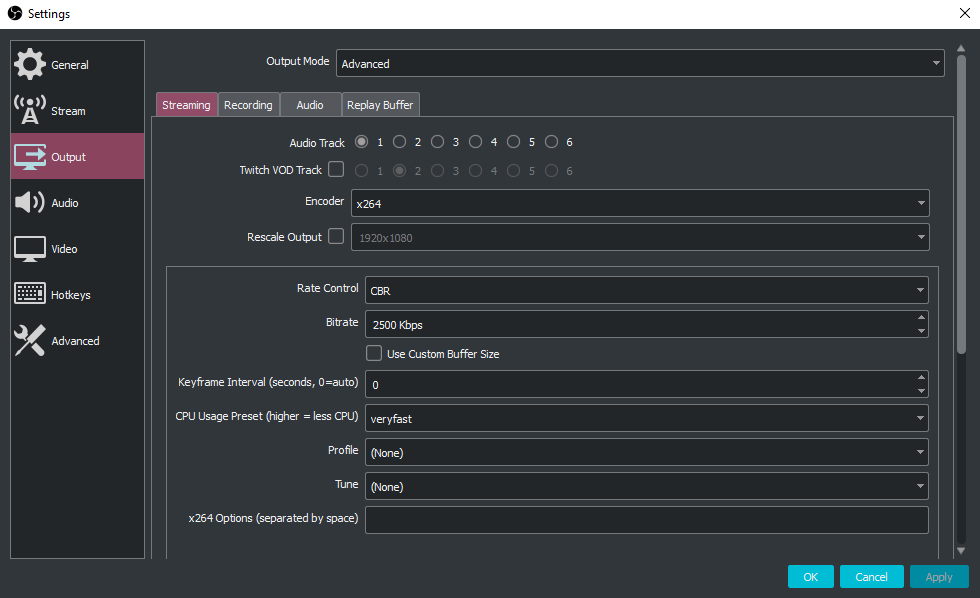
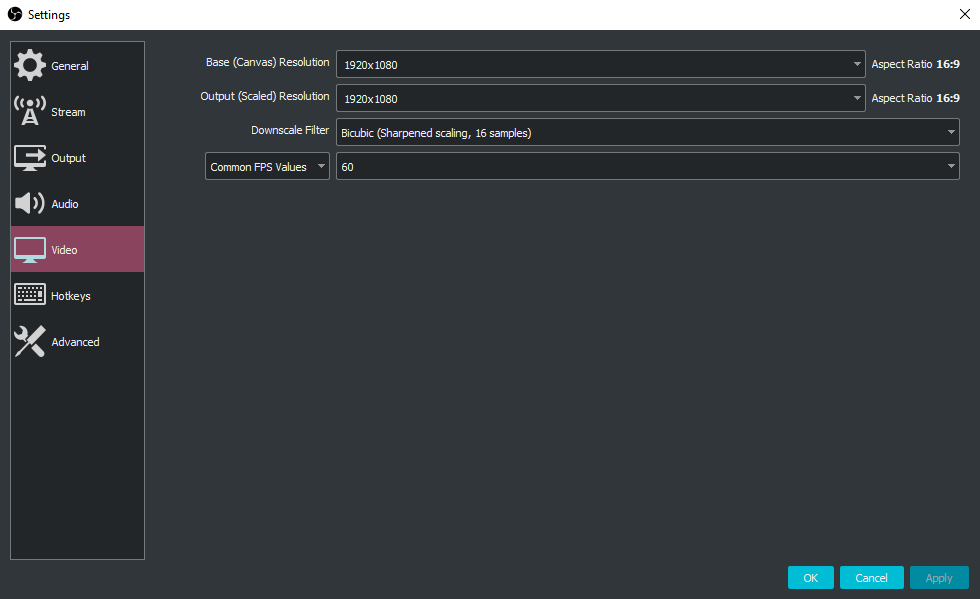
Currently I stream at 2500kpbs, in 1080p at 60fps.
OBS Plugins
Cloud Closed Captions
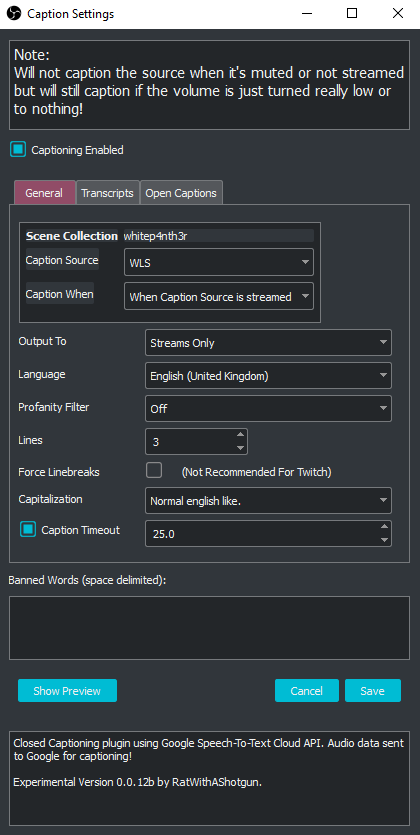
I use the Cloud Closed Captions plugin to provide captions to my viewers on stream. I have found it to be really reliable, and I like the fact that I can monitor the generated captions whilst I stream in a UI dock.
Elgato Remote Control
I use this plugin with my Elgato Stream Deck XL.
If you want to chat about or get some advice on live coding streaming setups, come and join a fantastic group of tech streamers in The Claw Discord server. We’d love to have you!
